Learn how to mix colors with this cute ladybug project!
Materials you will need:
- Crayons
- Washable paint or watercolors
- Cup of water
- Paint brushes
- Plate or palette
- Cardstock or watercolor paper
- Scissors
- Glue stick
Step One:
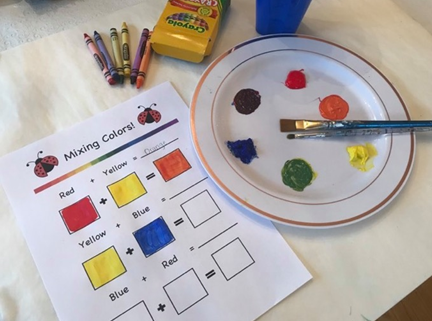
Print out the Mixing Colors! Worksheet. Put red, yellow and blue paint on your plate or palette. These are the primary colors. We can make any other color from these three colors!
Paint each box the correct primary color. Then mix those two primary colors together to get the secondary color. For example, paint a red box and then a yellow box. Then mix those two colors together on your plate and paint orange in the third box. Don’t forget to write the name of the secondary color in the space above. You’ve just made the three secondary colors!
Step Two:
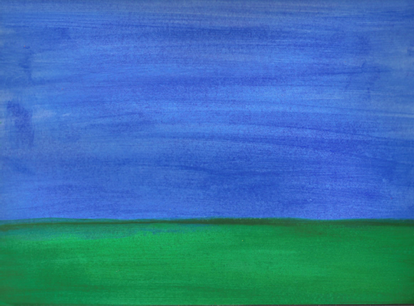
Take your piece of cardstock or watercolor paper and some green and blue paint. Paint a really big blue sky and a little bit of grass on the bottom. Set it aside to dry.
Step Three:
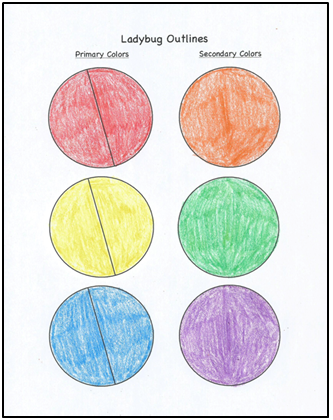
Print out the Ladybug Outlines Worksheet. Using crayons, color the three circles on the left the primary colors (red, yellow, and blue) and the three circles on the right the secondary colors (orange, green and purple). Cut out all the circles and cut the primary circles in half on the line.
Step Four:
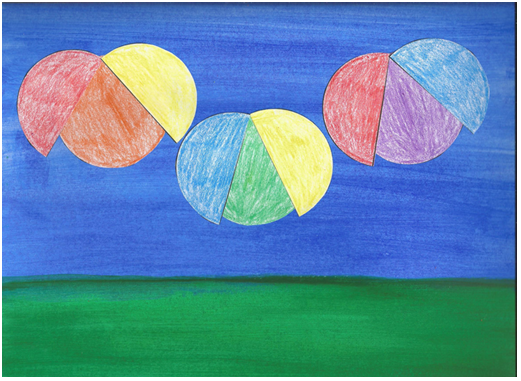
Glue the orange, green and purple circles in the sky. These will be the bodies of the ladybugs. Then glue the two wings that make that color on top of the bodies! For example, for the orange circle, glue a red wing and yellow wing on top because red and yellow make orange. Make sure the wings are spread apart so it looks like the ladybug is flying!
Step Five:
Take a black crayon and add heads, antennae and spots to your ladybugs! You can also add some texture to the grass using colored pencils.
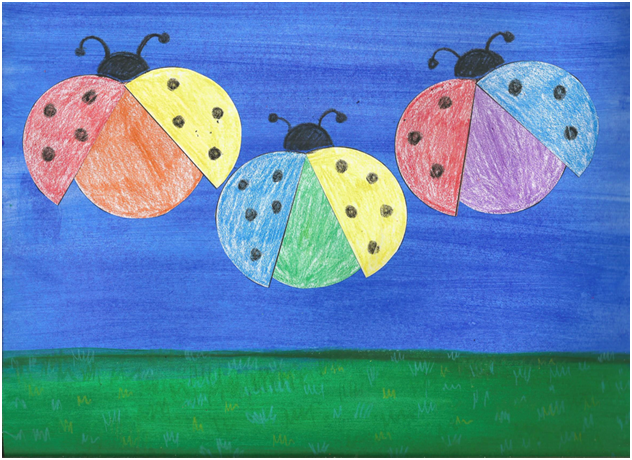
Now you have your color mixing ladybugs!
Related Activities:
Read the book Mouse Paint by Ellen Stoll Walsh where three white mice discover jars of red, yellow, and blue paint and have fun mixing colors.
Print out The Parts of a Ladybug Worksheet. Fill in all the different body parts of the ladybug. Did you know that the red spotted shells on a ladybug are actually not their wings? Their real wings are hidden underneath. The red shell, called the elytra, protects the wings and keeps them safe.
Enjoy this post? Read on, and sign up for our homeschool newsletter!
Spring Nature Study Printables