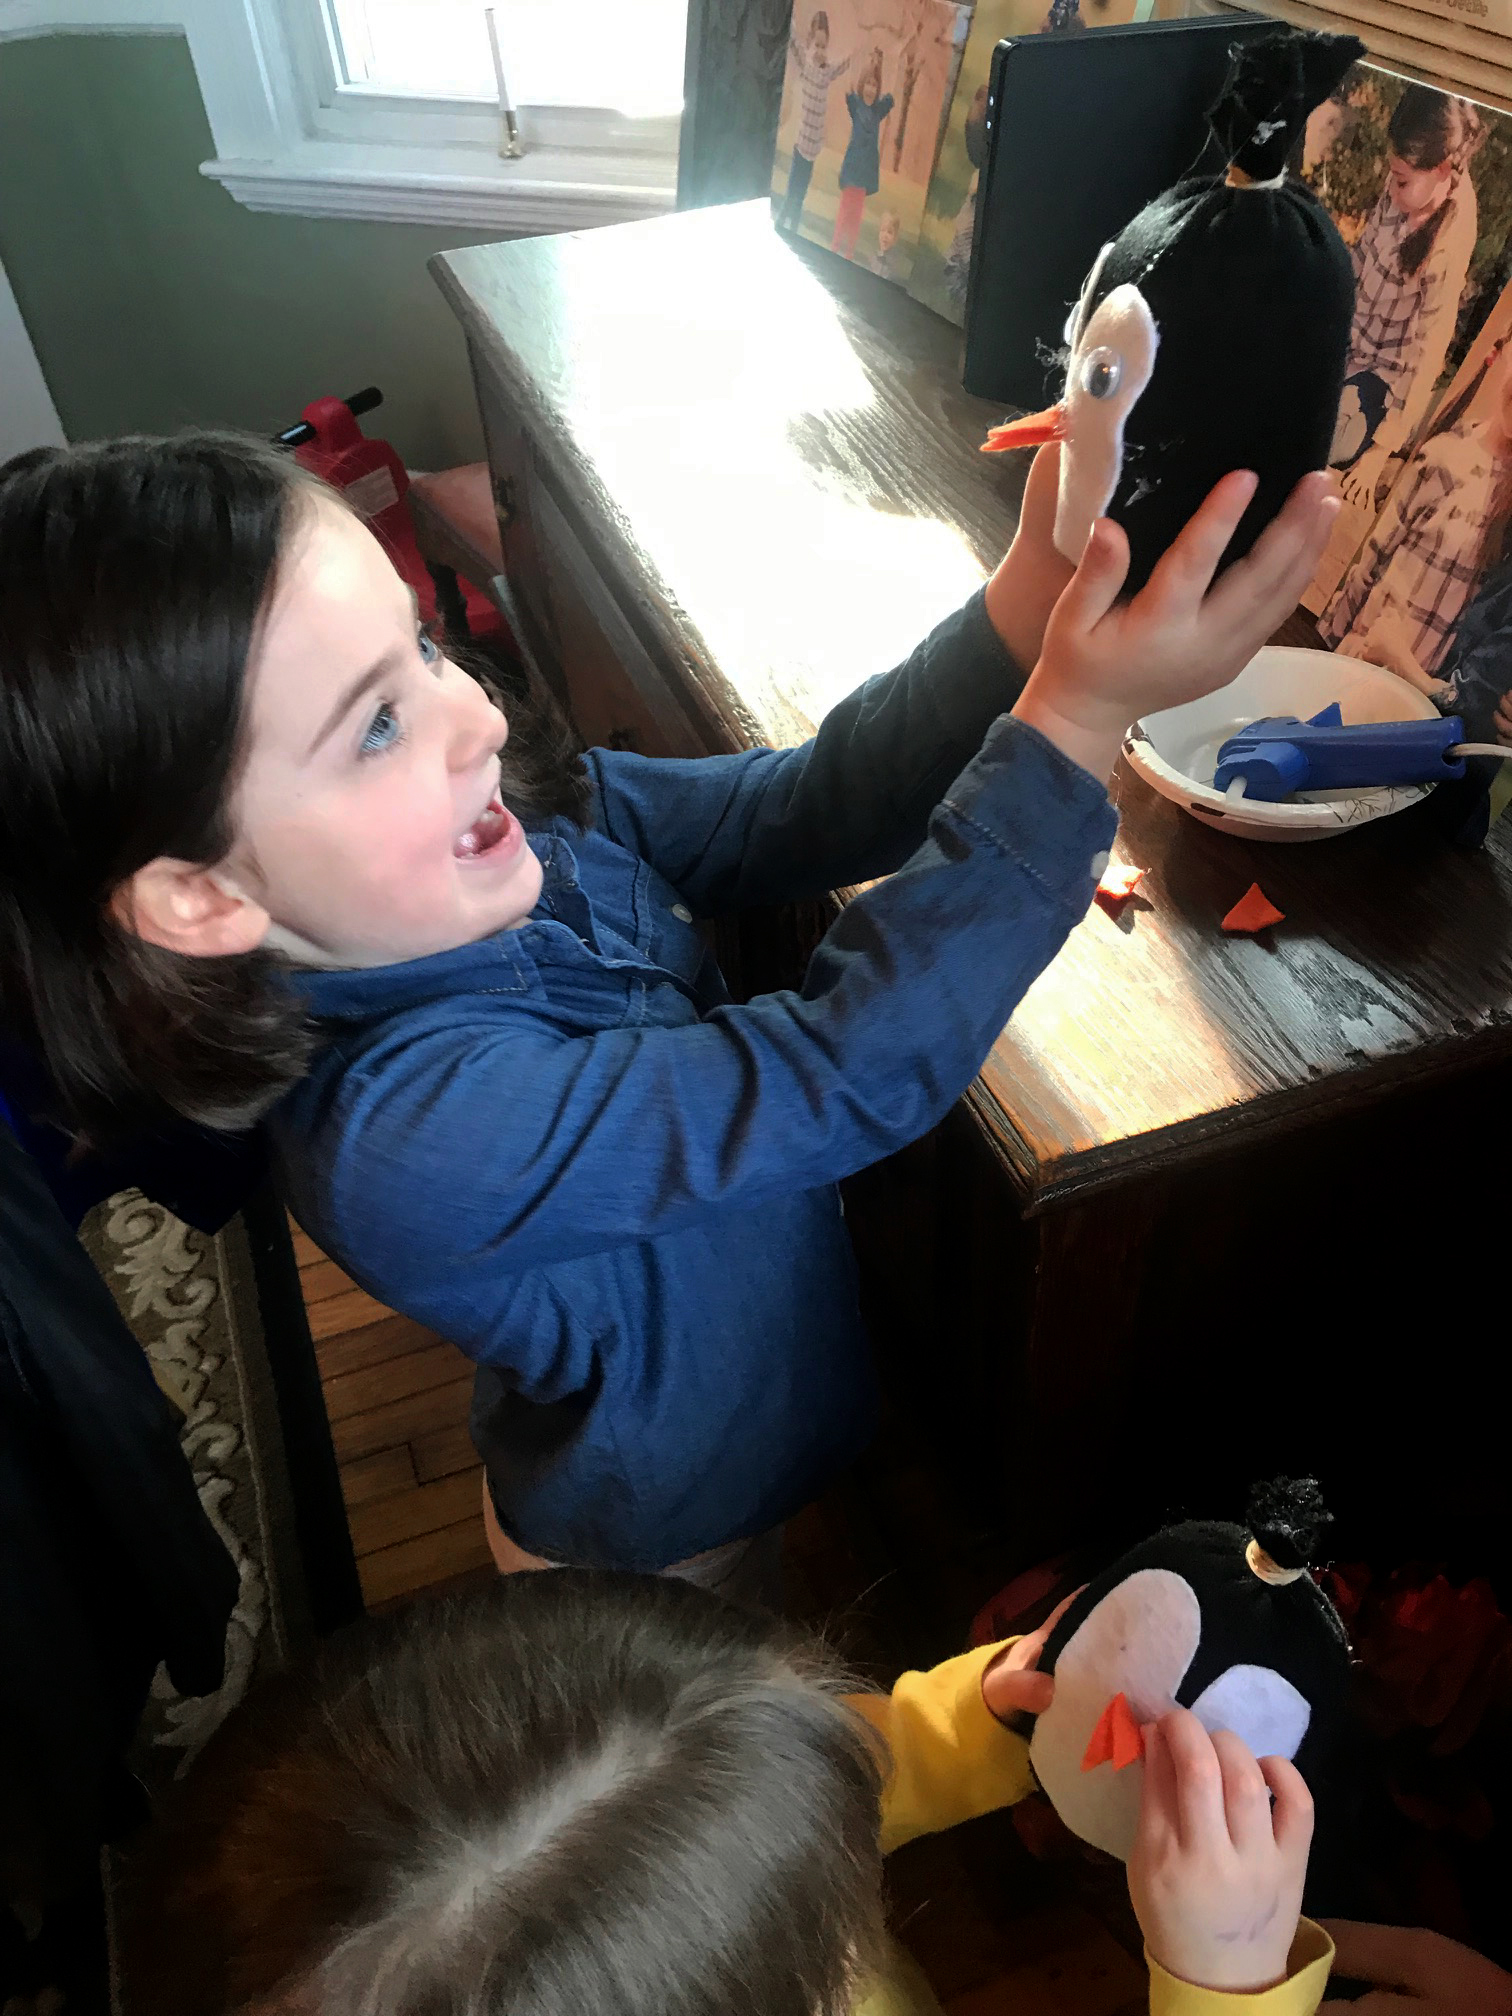
The long days of winter can be cold and rather claustrophobic. Break up your days with this fun penguin craft & worksheet (after all, penguins know all about living in the cold!). This is a great way to tie together the penguin section of books at your local library. The Penguin Factsheet (PDF) and Penguin Worksheet (PDF) provide a mini-lesson and some mapwork/research fun for younger elementary-aged kids. And the sock craft will have kids of all ages wanting to join in!
Penguin Sock Craft
You will need:
Our penguin template (PDF)
1 black sock
1 striped or print sock
1 sheet each of felt in the following colors:
Black, White, & Orange
Dry uncooked rice
Poly-fill
Rubber-bands
Scissors
Hot glue, or white craft glue
Googly-eyes, black buttons or black magic marker
Directions:
Place the black sock over a can or sturdy drinking glass, folding over sock cuff around the outside of the glass. Fill with ½ cup of dry uncooked rice.
Generously fill the glass with poly-fill. Gather up the sock from the glass, and secure with a rubber band. Cut off the excess sock about ½ from the rubber band. Set aside.
Cut out pattern pieces and pin to felt squares.Cut felt out according to the pattern pieces; transfer the markings for the placement of the eyes and the beak.
Glue the main white body piece to the front of the black sock.
Take the diamond shaped orange felt piece and place a small bead of glue in the center and fold into 2 triangles, pinching slightly to create a beak.
Glue the eyes and beak to the white body piece as marked.
Glue the feet to the bottom of the penguin’s body.
Attach the wings to the sides, with the straight side of the wing facing front.Take the 2nd (patterned) sock and place it over the top of the penguin so the sock’s cuff makes a hat cuff.
Gather up the excess fabric at the top of the penguin’s head and secure with a rubber band. Cut the fabric about 1” from the rubber band.
Cut small slits in the 1” piece from the cut edge to the rubber band and fluff at the top of the hat for a pompom.
